How to complete digital forms
There are three main methods to complete digital practice consent forms:
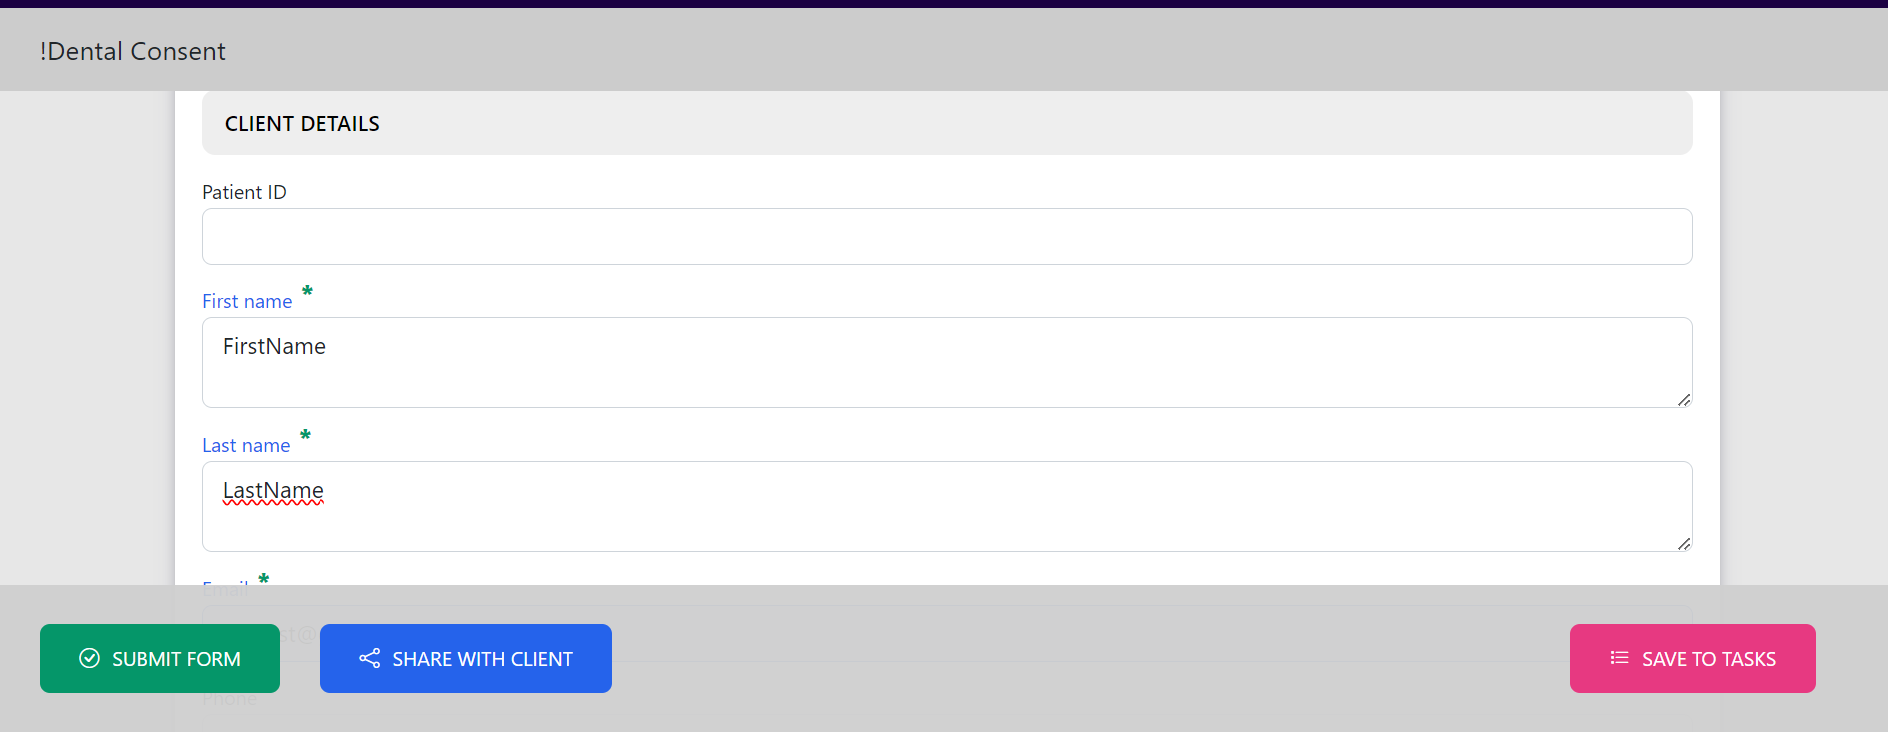
- SHARE: Forms can be shared before the pet owner arrives at the clinic.
- SAVE TO TASK LIST: Prepared and saved for the pet owner to complete on-site using a tablet or laptop.
- SUBMIT: Completed on-site in real-time using a tablet or laptop.
Share
Locate VetCheck from your practice management system (PMS) and open the form you wish to share. The client details will pre-populate into the relevant fields.
Enter optional client instructions (e.g., date of procedure, reason for admission estimate). Create or select a template, and use the image field to add a photo or PDF file, such as an itemized estimate.

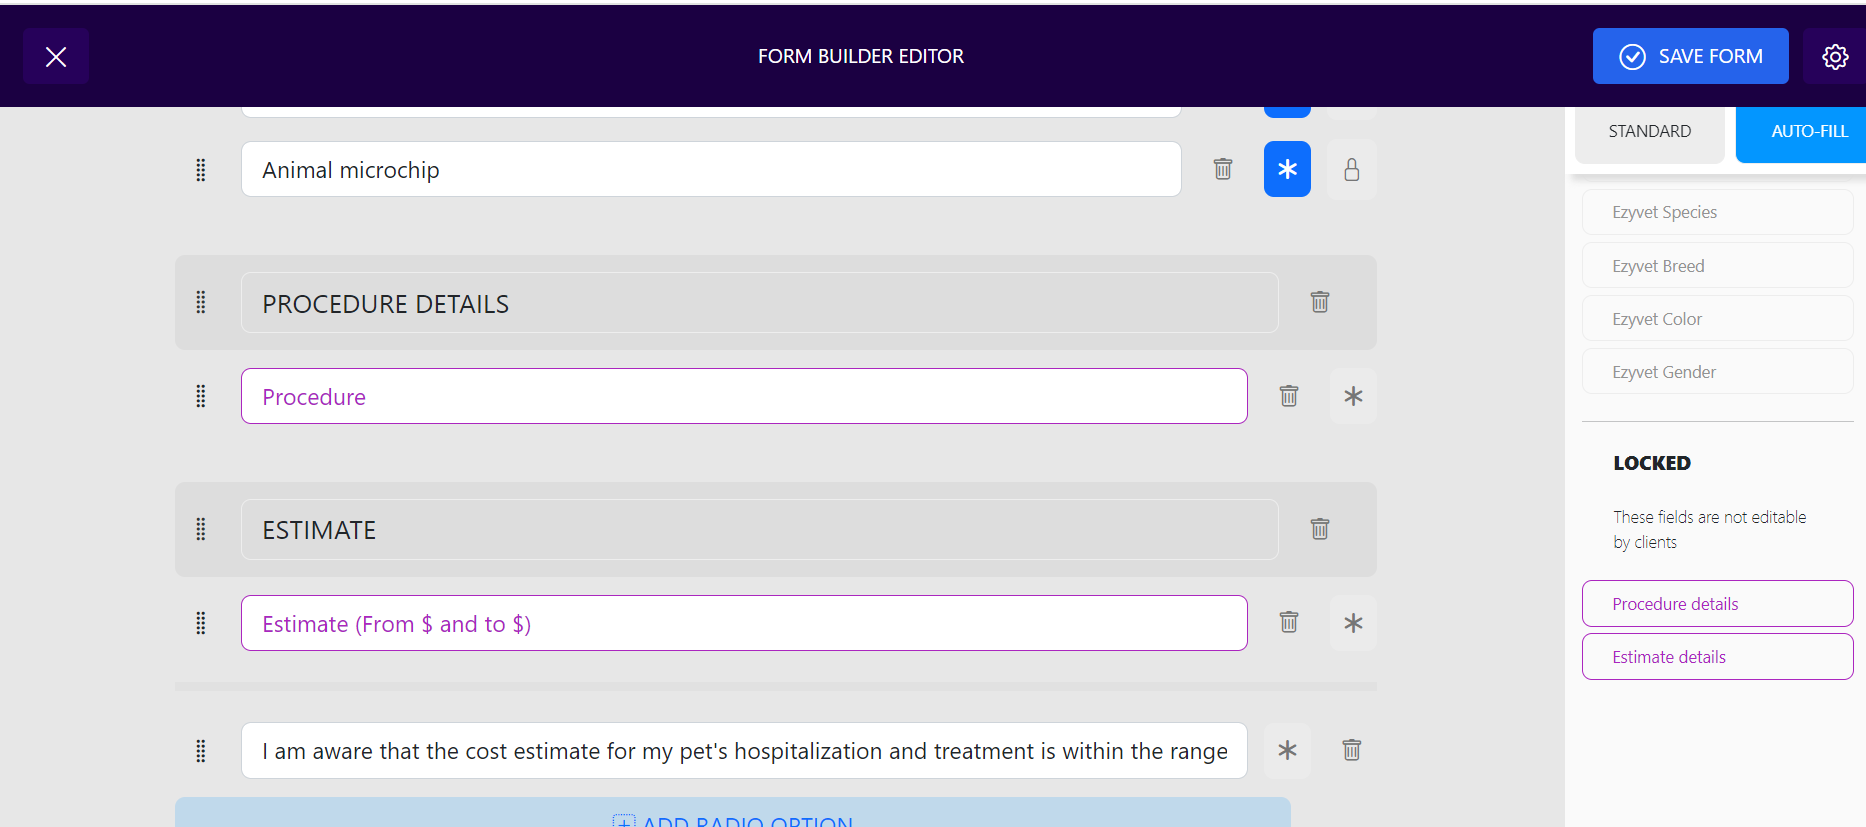
Enter details in locked fields (e.g., Procedure and Estimate details) from the form builder. These fields will remain uneditable by the client:
- Procedure details
- Estimate details (e.g., $800-$1200)

Replace existing locked fields via the right-hand panel in the form builder:

Save to Task List
Prepare the form in your PMS, ensuring client details pre-populate. Enter optional instructions (e.g., procedure details) and select a template if needed. Save the form to the Task List to access it on any Chrome-compatible device.
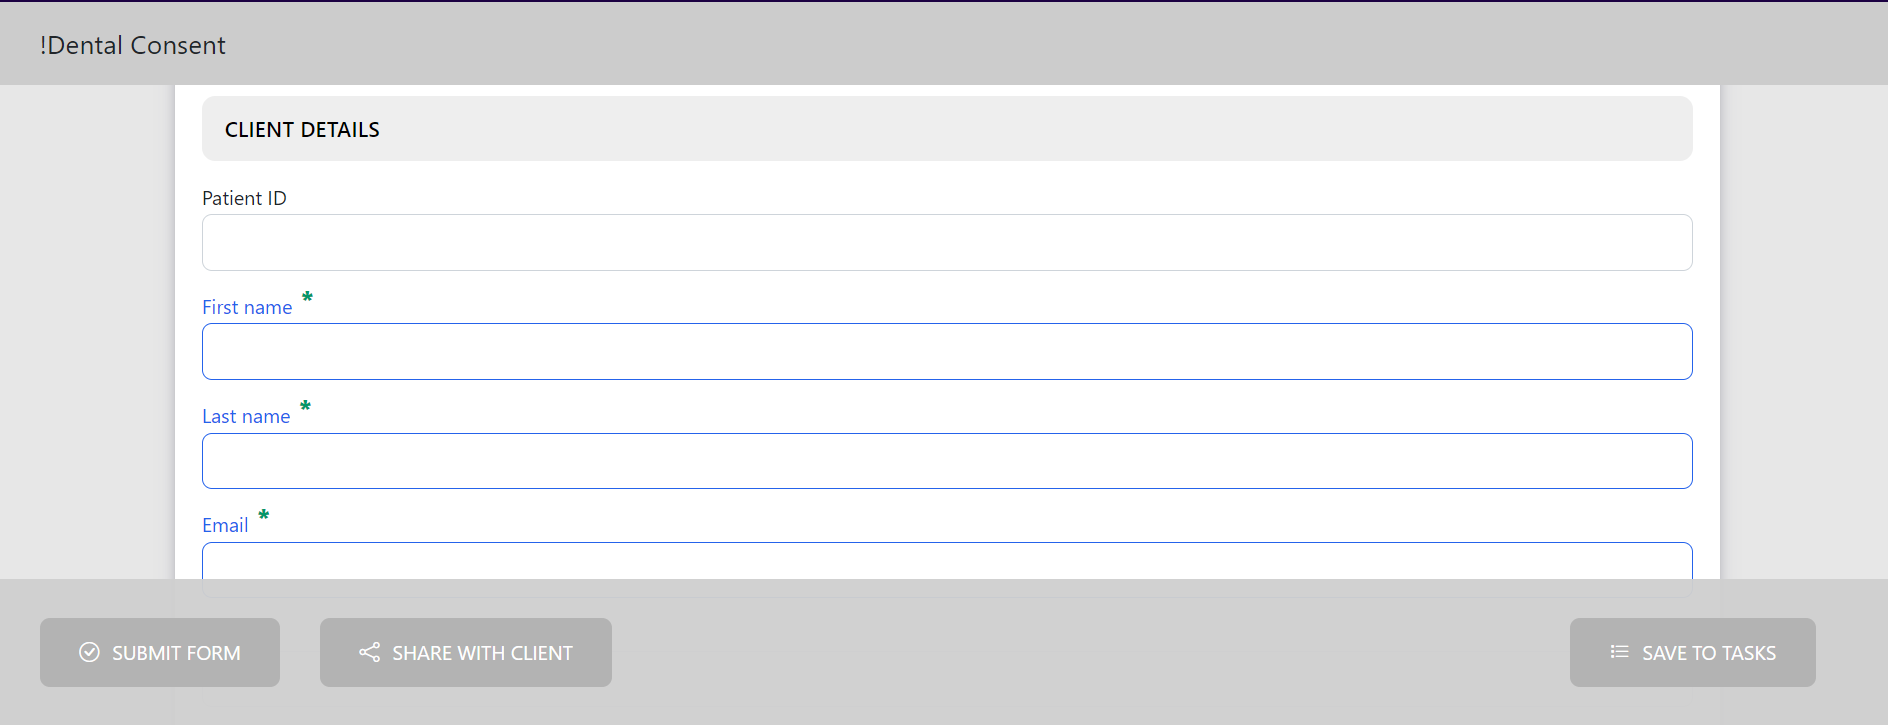
Required fields to save a form:
- Client's first and last name
- Pet's name
- Email address

Submit
Forms can be submitted digitally in three ways:
- On a device within the practice, where the client completes and clicks "SUBMIT."
- On a tablet from the Task List.
- Using the pet owner's smartphone to scan the QR code on a shared form.
Ensure all mandatory fields are completed before submission. Manage these fields in the form builder:

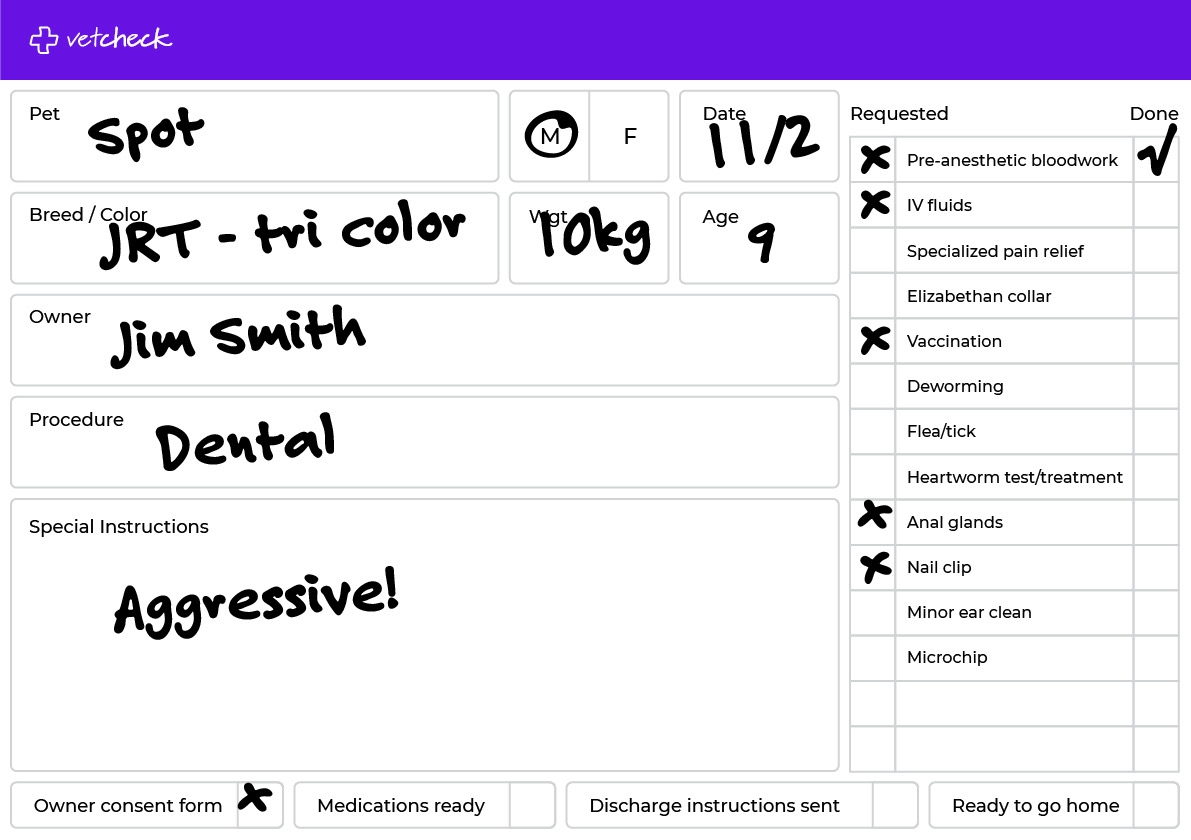
Create a laminated cage card
No need to print the form for cages. Laminated cards can be created since consent forms are saved in the PMS under patient history.
