How to use Form Builder
You can build forms using Form Builder. In your VetCheck account, select the 'menu' button (displayed as ), and select Form Builder
Overview [video]
Using form components [video]
Making your forms live [video]
Creating a new form
In the top right corner, click on the blue 'CREATE NEW FORM' button, this will bring you to the form builder page.
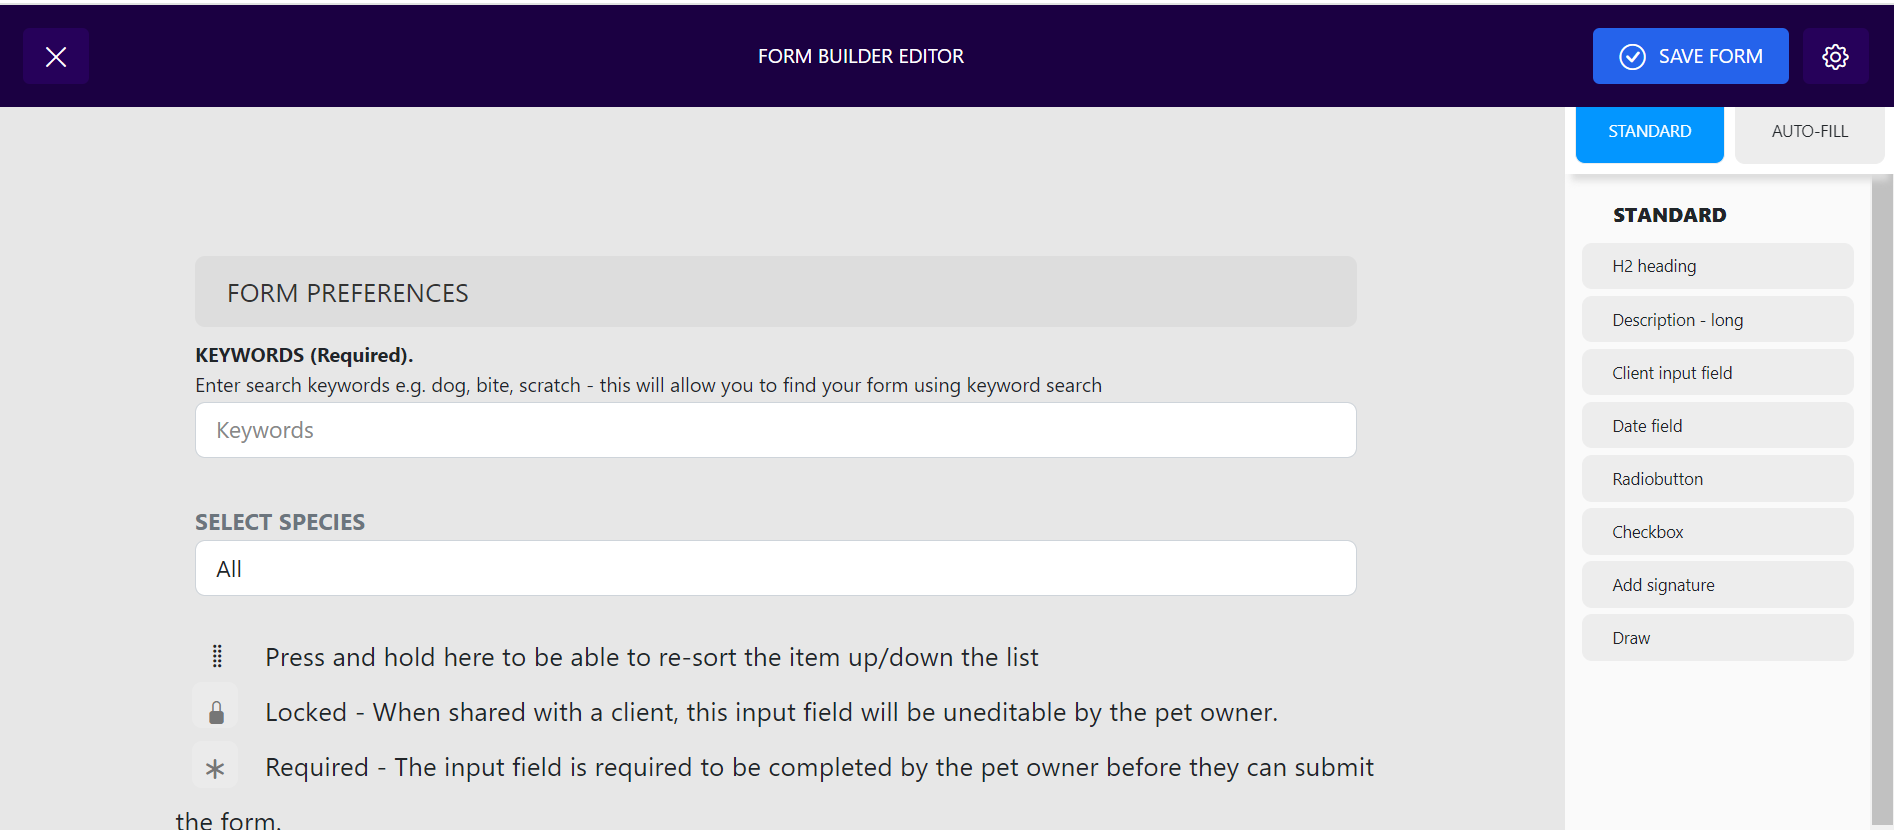
Form Preferences
The top section is the 'FORM PREFERENCES' section. Here are the smaller sub-sections within this section:
- The 'BANNER IMAGE' section that allows you to attach .jpg or .png files at the top of the form.
- The KEYWORDS section, which is a section that must be filled in by you. This section allows forms to be searched more easily.
- The SELECT SPECIES section, which allows you to select a species that is specific for the form.
Form Details
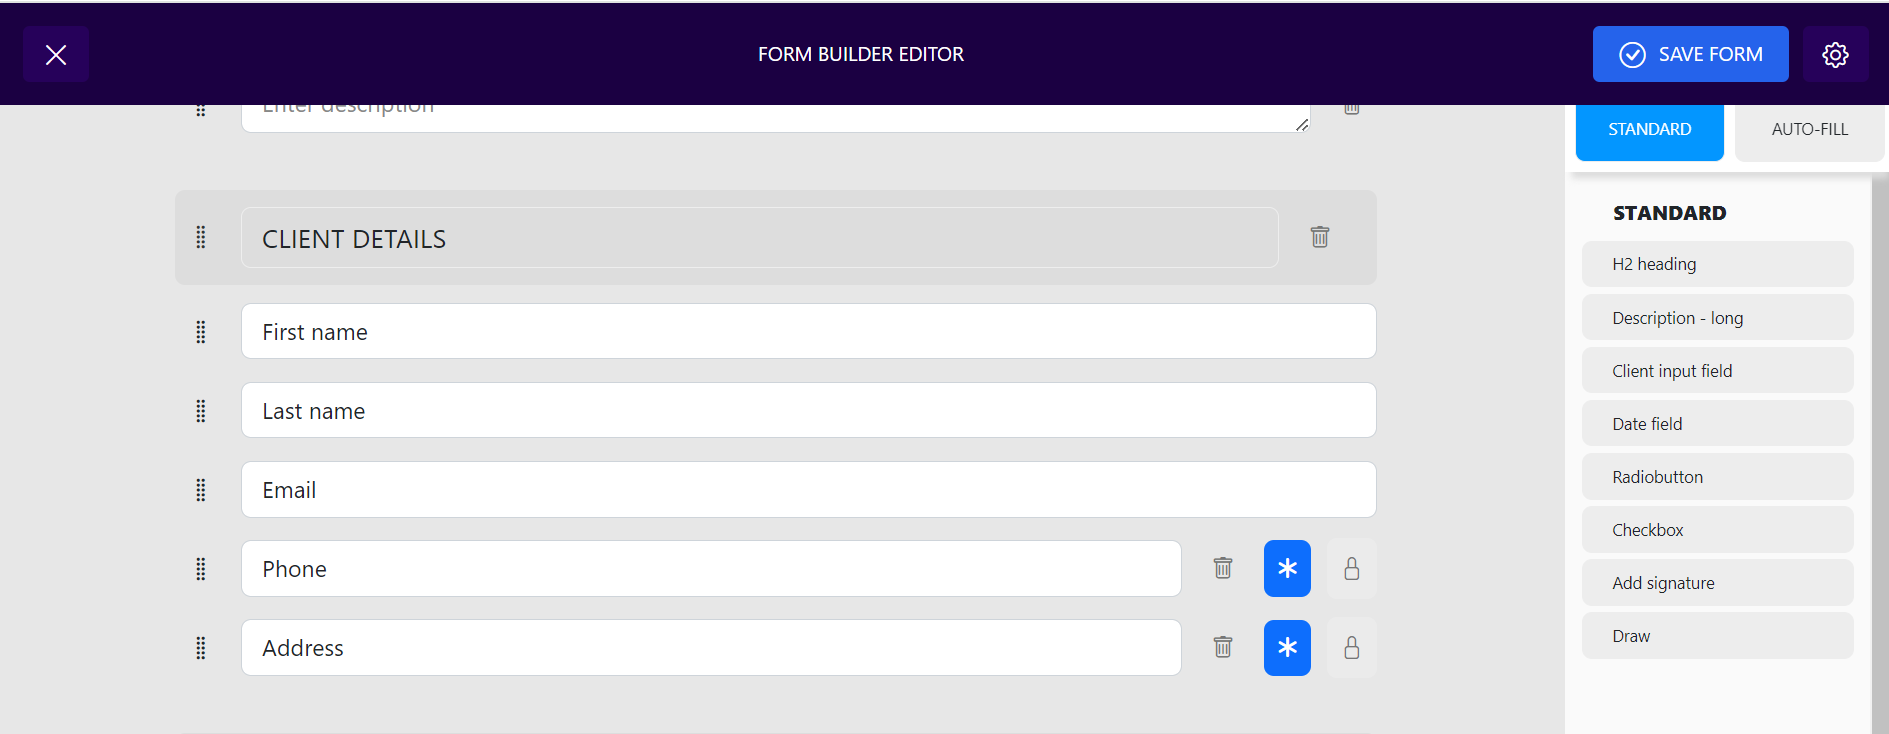
The form name can be added into this purple text box which says, 'Insert form name', and then the form description is added into the section underneath.
Under the 'CLIENT DETAILS' section, the three mandatory sections which must be presented in every form are the 'First name', 'Last name' and 'Email' sections. 'Phone' and 'Address' are optional sections that can be deleted by clicking the trashcan symbol.
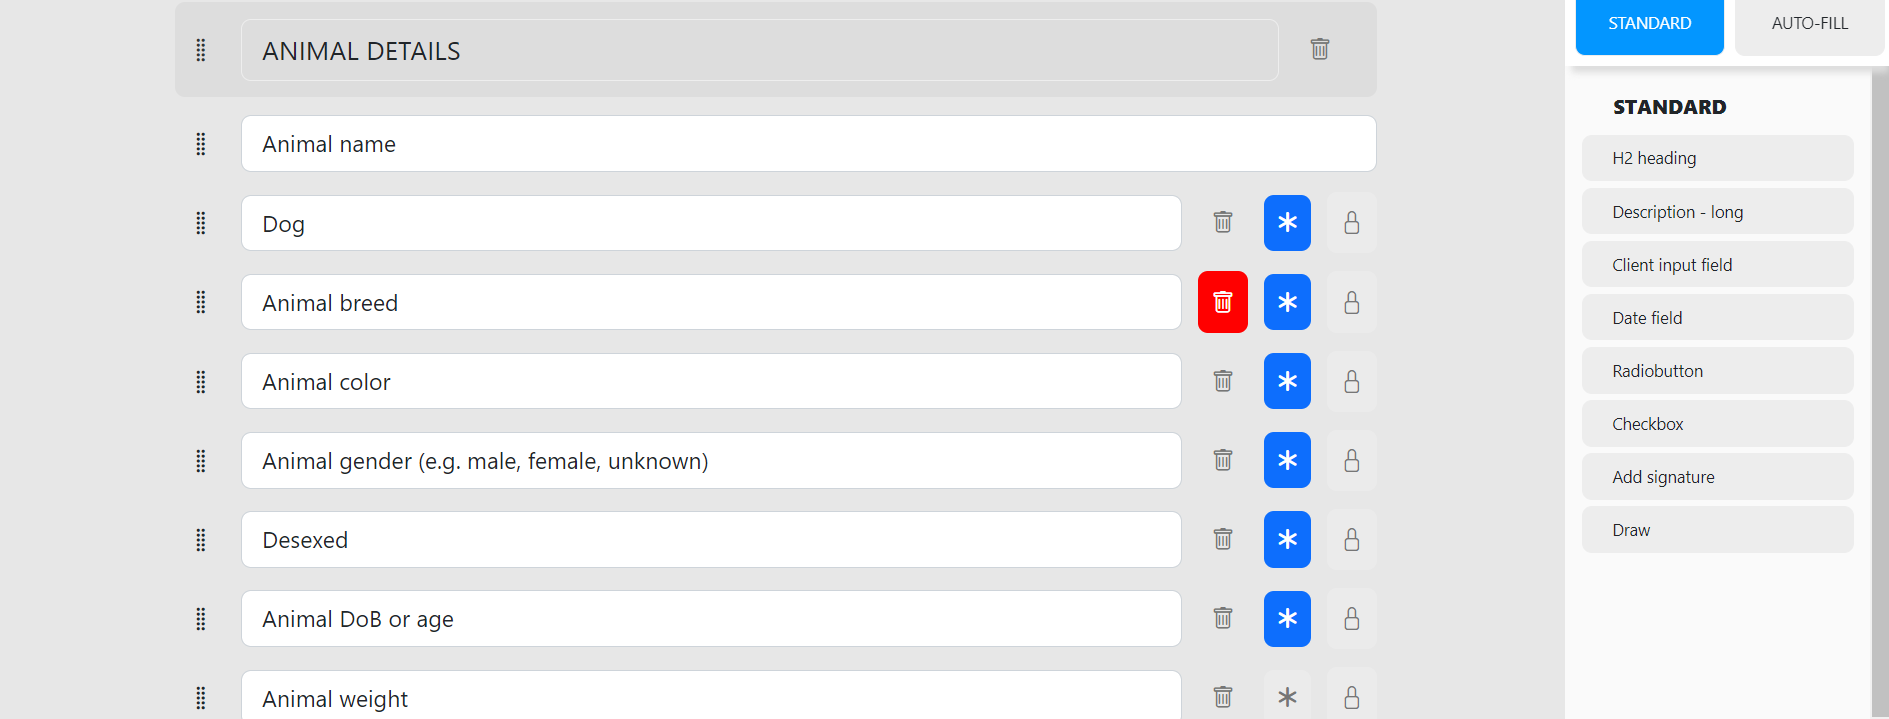
Under the 'ANIMAL DETAILS' section, the only mandatory section is the 'Animal name' section. 'Animal species', 'Animal' breed', 'Animal color', 'Animal gender (e.g. male, female, unknown)', 'Desexed', 'Animal DoB or age', 'Animal weight' and 'Animal microchip' sections are optional sections that can be deleted by clicking the trashcan symbol.
Here are a few points to note:
- If you want a section to be made required in the form, this can be done by clicking the asterisk symbol.
- If you want to move a section, this can be done by clicking and dragging the dots on the left.
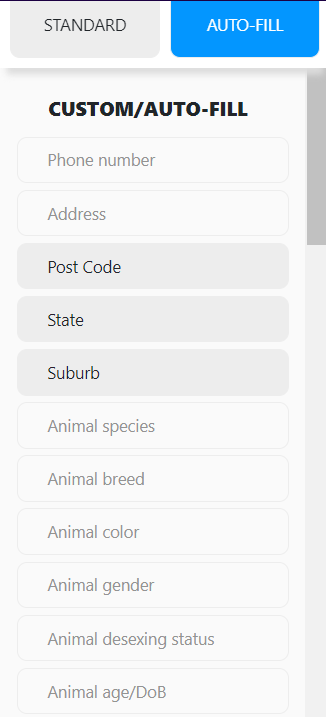
- If you want to add an auto-fill section, this can be done by clicking the buttons under the 'AUTO-FILL' menu, as shown below:
Form Components
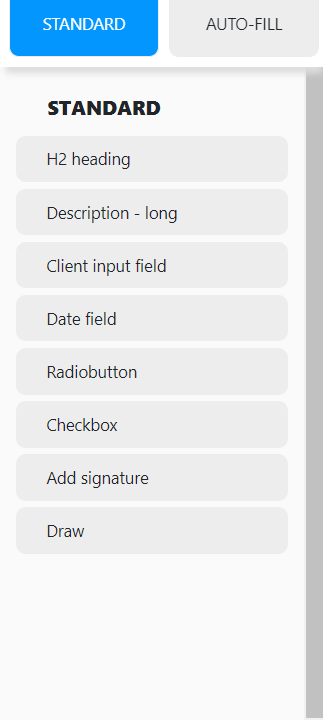
Components can be added to your form by clicking on the buttons under the 'STANDARD' menu, as shown below:
Here are a few points to note:
- H2 heading allows you to attach a header.
- Description - long allows you to insert texts into the form.
- Client input field is used when you want the users to fill in a response.
- Date field is used when you want the users to enter dates using the day-month-year format.
- Radiobutton is used when you want the users to select a choice out of multiple answers.
- Checkbox is used when you want the users to select multiple choices.
- Add signature is used when you want the users to add a signature.
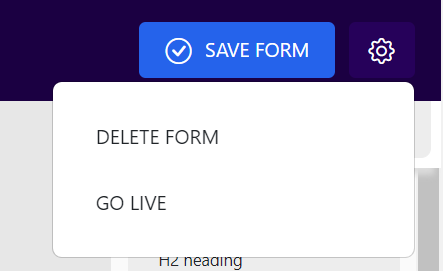
Top Section
On top of the page, there is the
- Save button that allows you to save the form.
- Delete buttonthat allows you to delete the form.
- Go Live buttonthat allows you to make the form official.
Form Builder Home Page
In the Form Builder home page, there is the
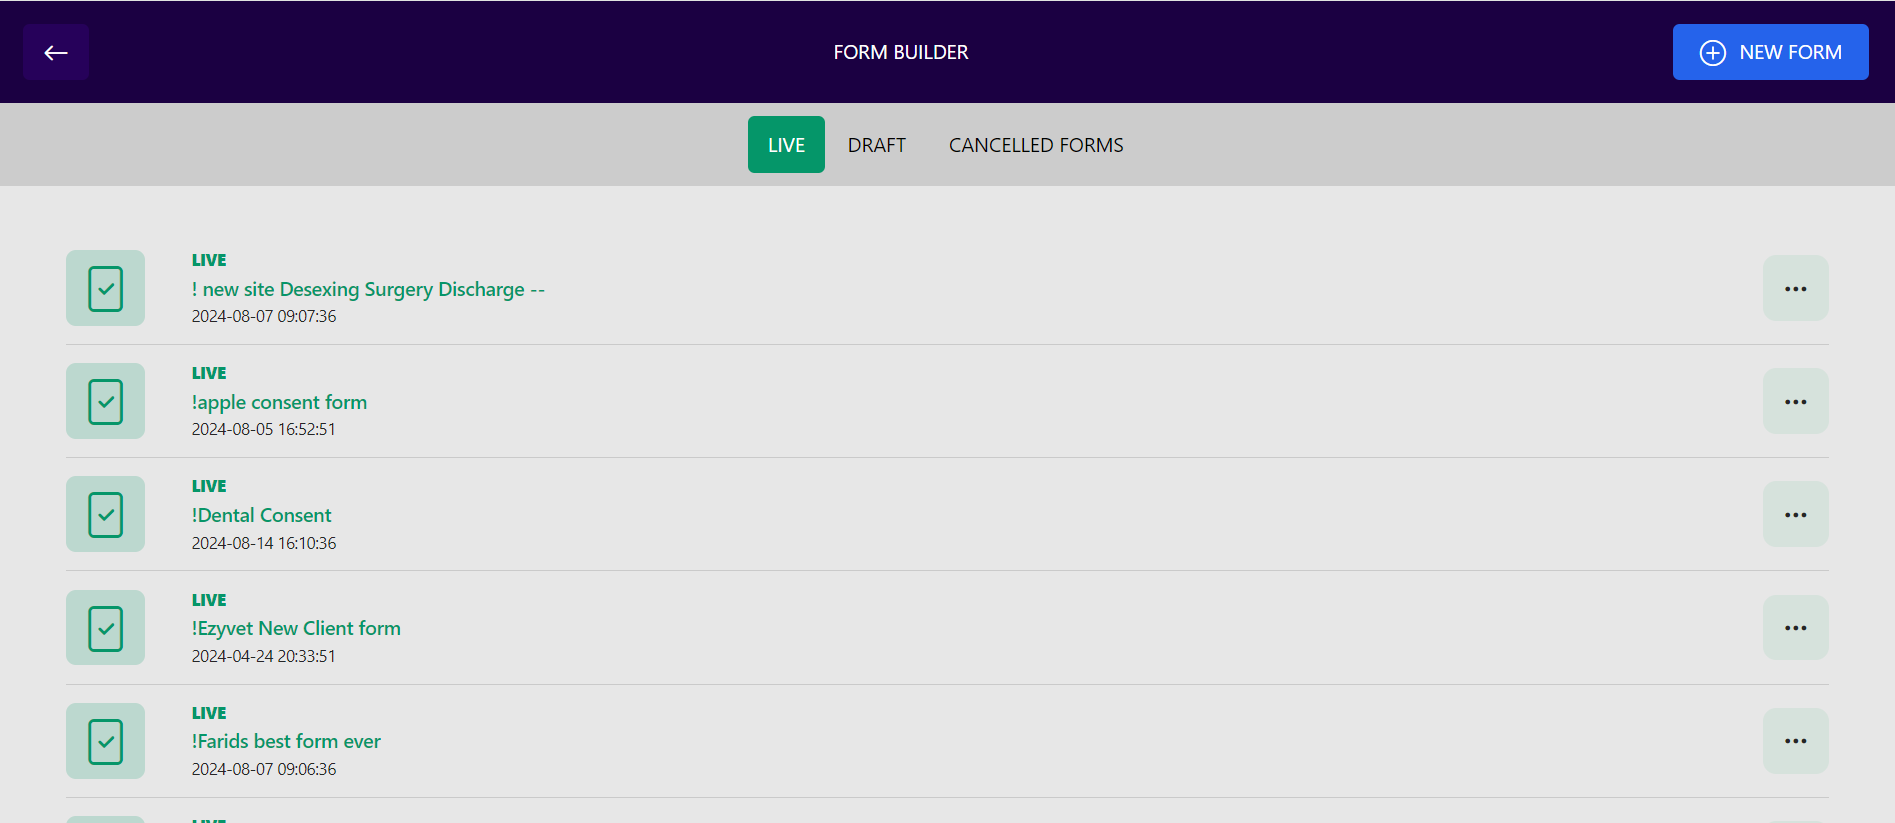
- LIVE section which consists of a list of live forms.
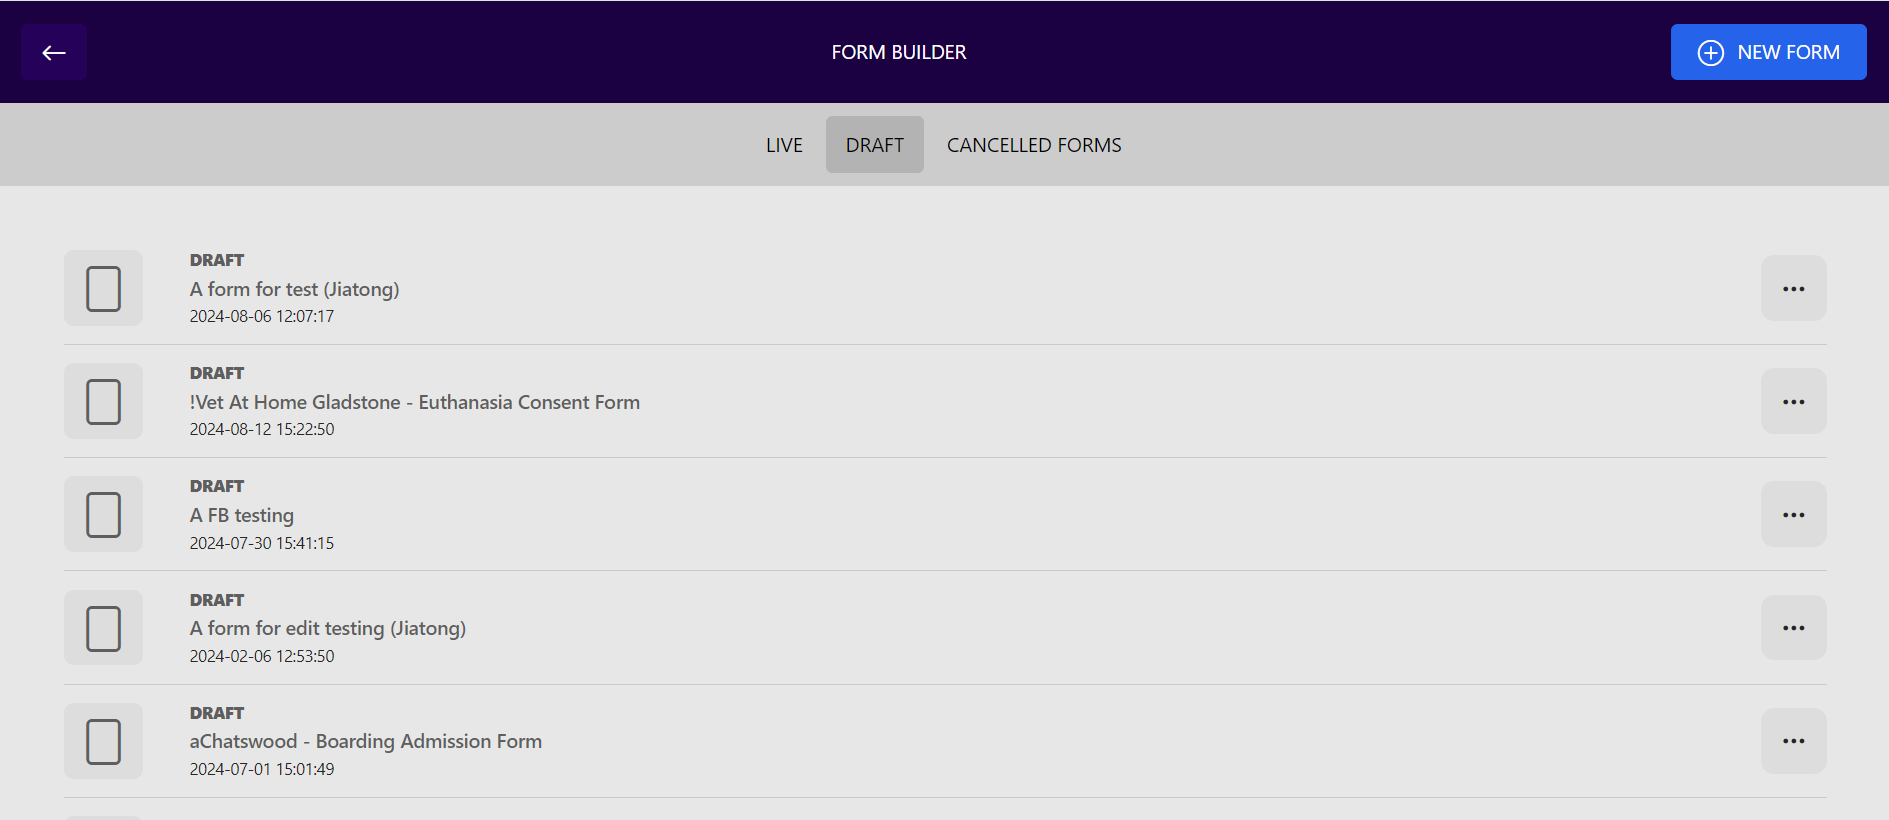
- DRAFT section which consists of a list of draft forms that are saved but not live yet.
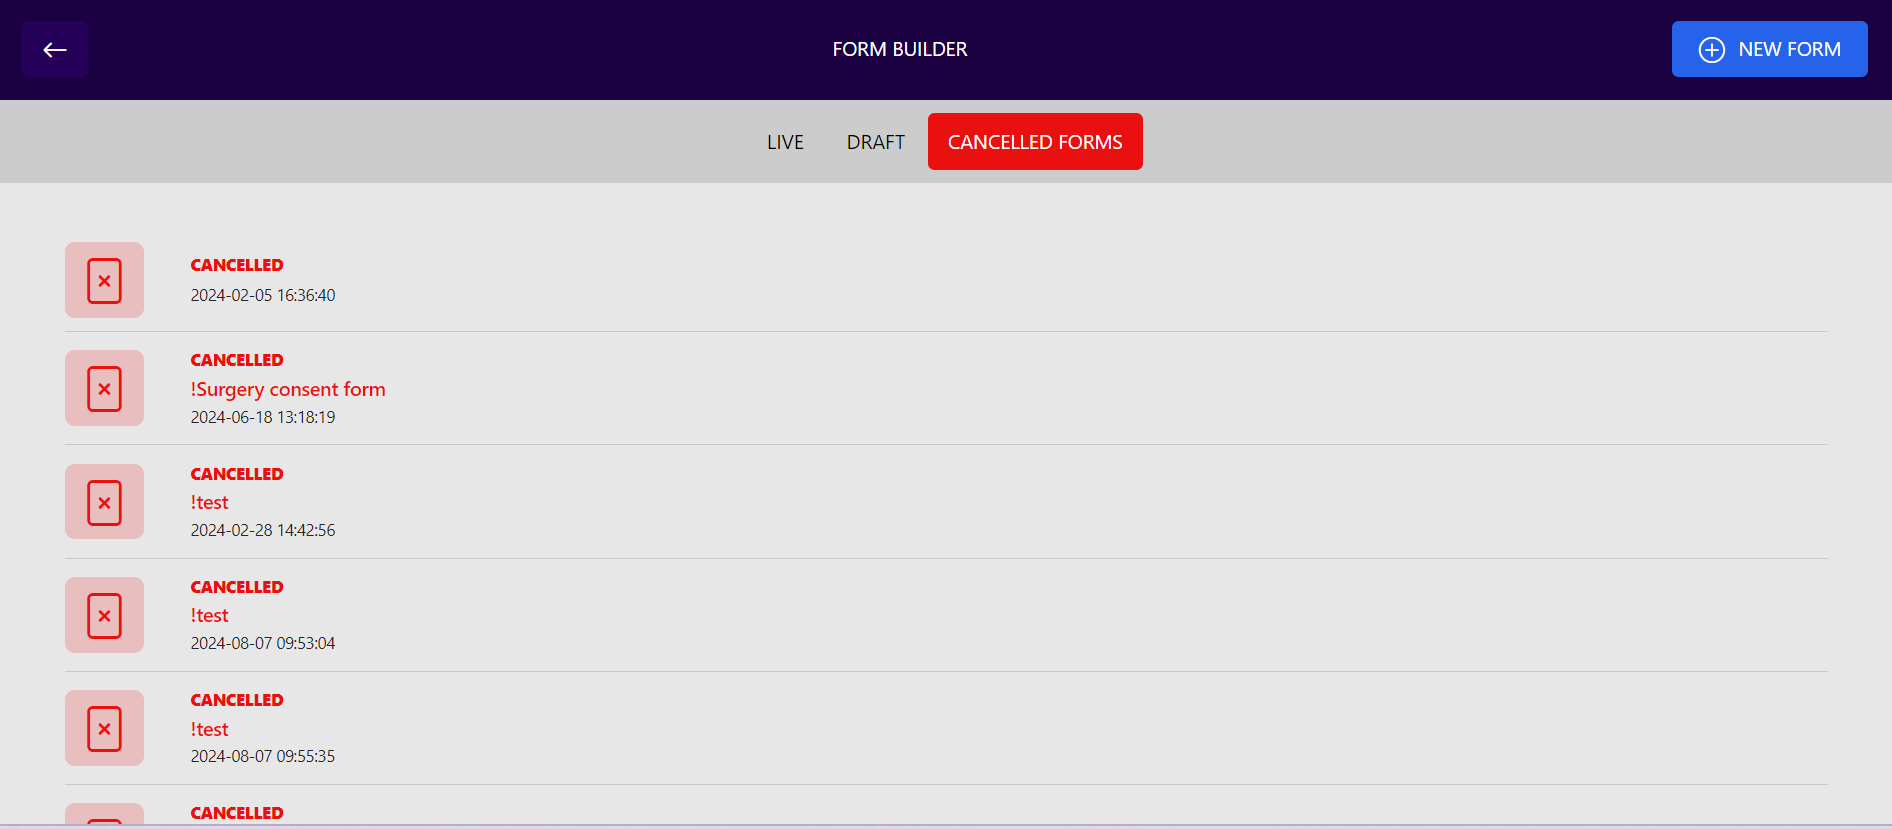
- CANCELLED FORMS section which consists of a list of forms that are deleted.