How to use the digital hospital chart
The digital hospital chart can be launched from your practice management system (PMS).
- From within your PMS, click on the VetCheck icon
- Navigate to the “VET FORMS”
- Locate and select the “Hospital Chart”
The client and patient information should pre-fill some data from the PMS. Complete any other data and click on “OK”
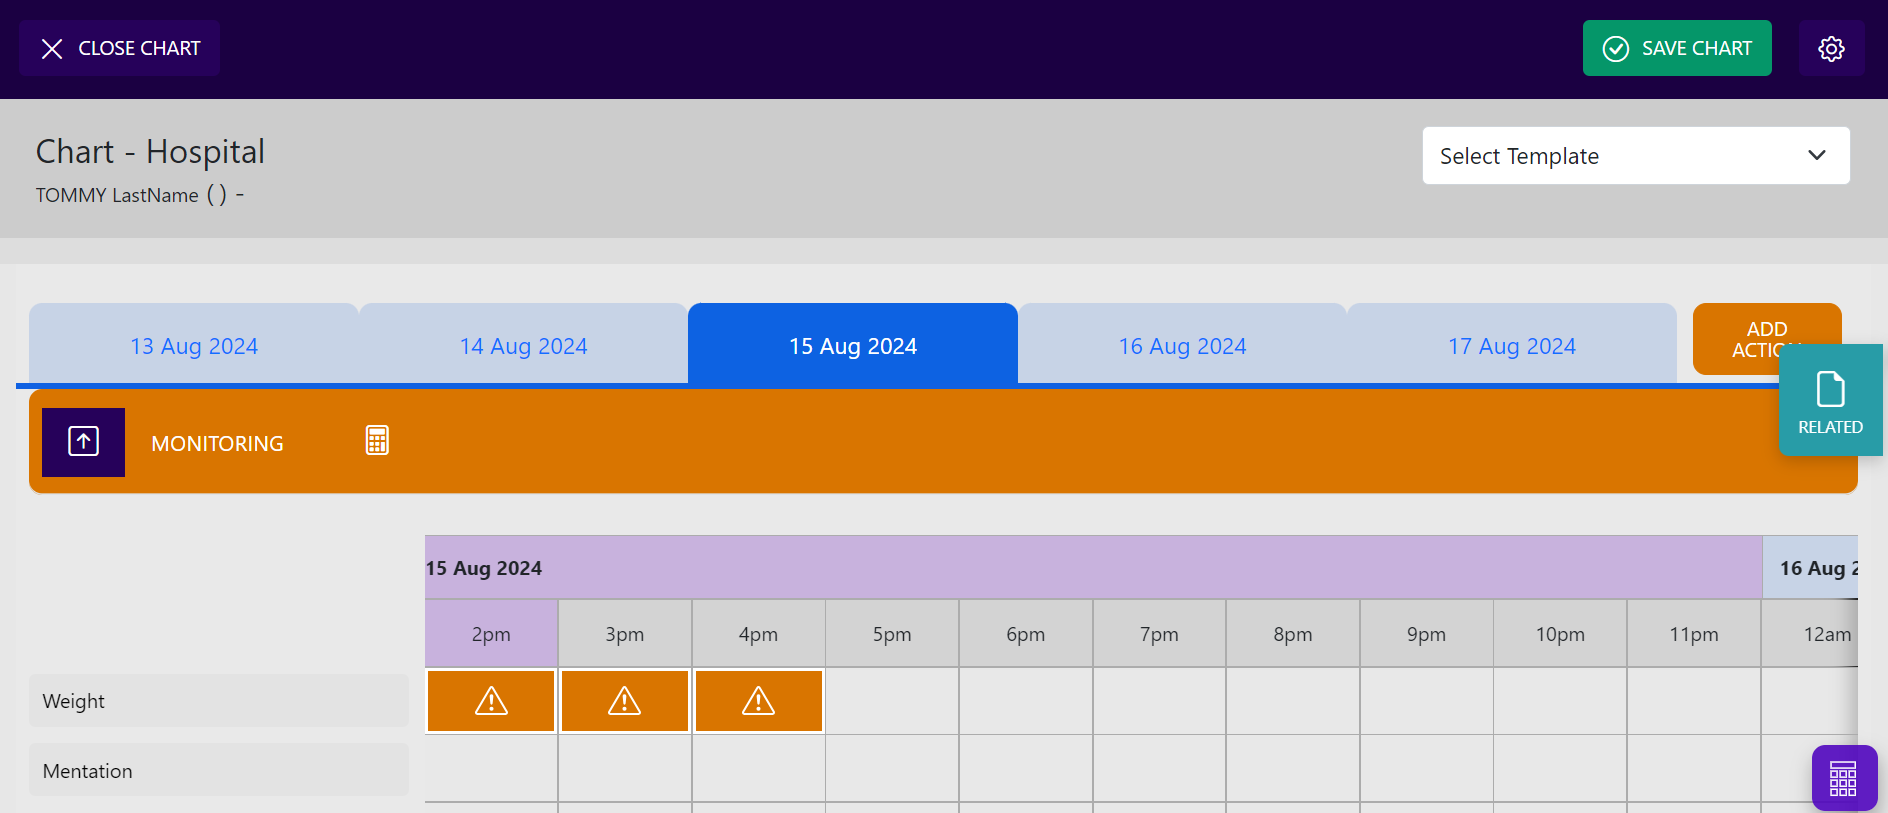
Set actions & tasks
- Click on the “ADD ACTION” button within the menu of the “CHART”.
- Your screen will have an orange line within the header.
- In this mode, you can add action items in orange
- Use the “ADD TASK” button to add more customized tasks
- Always save once you have completed your actions
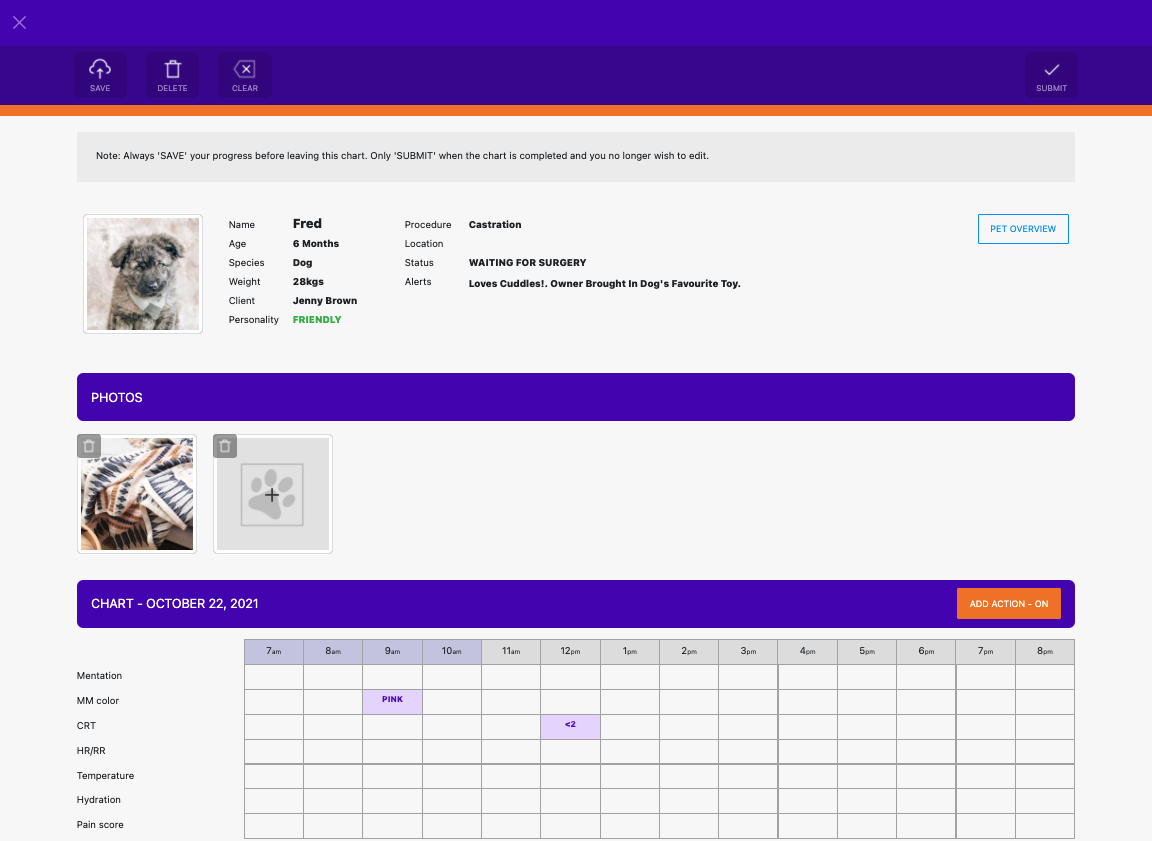
Add photos
- Using a tablet device, click on the image item and take a photo of the pet or item you wish to photograph.
- Using a desktop computer, select a photo from the computer files
Complete tasks
- Click on the action item and enter your action with your initials
- Any orange task alerts will go purple when completed and will be removed from the task alerts within the hospital whiteboard
Save or Submit
- Always “SAVE” after completing tasks. The hospital chart will update in real-time within the practice management system
- Only “SUBMIT” when you have completed the hospital chart at the end of the day or when the pet has been discharged
- A new template is required each day
Delete or Clear
- The DELETE function is for when the hospital chart is no longer required. You must also delete it from the practice management system history
- The CLEAR button will clear all the actions that you have created so that you can create a completely new template