Understanding the Hospital Realtime Chart
Create and Import Medication List
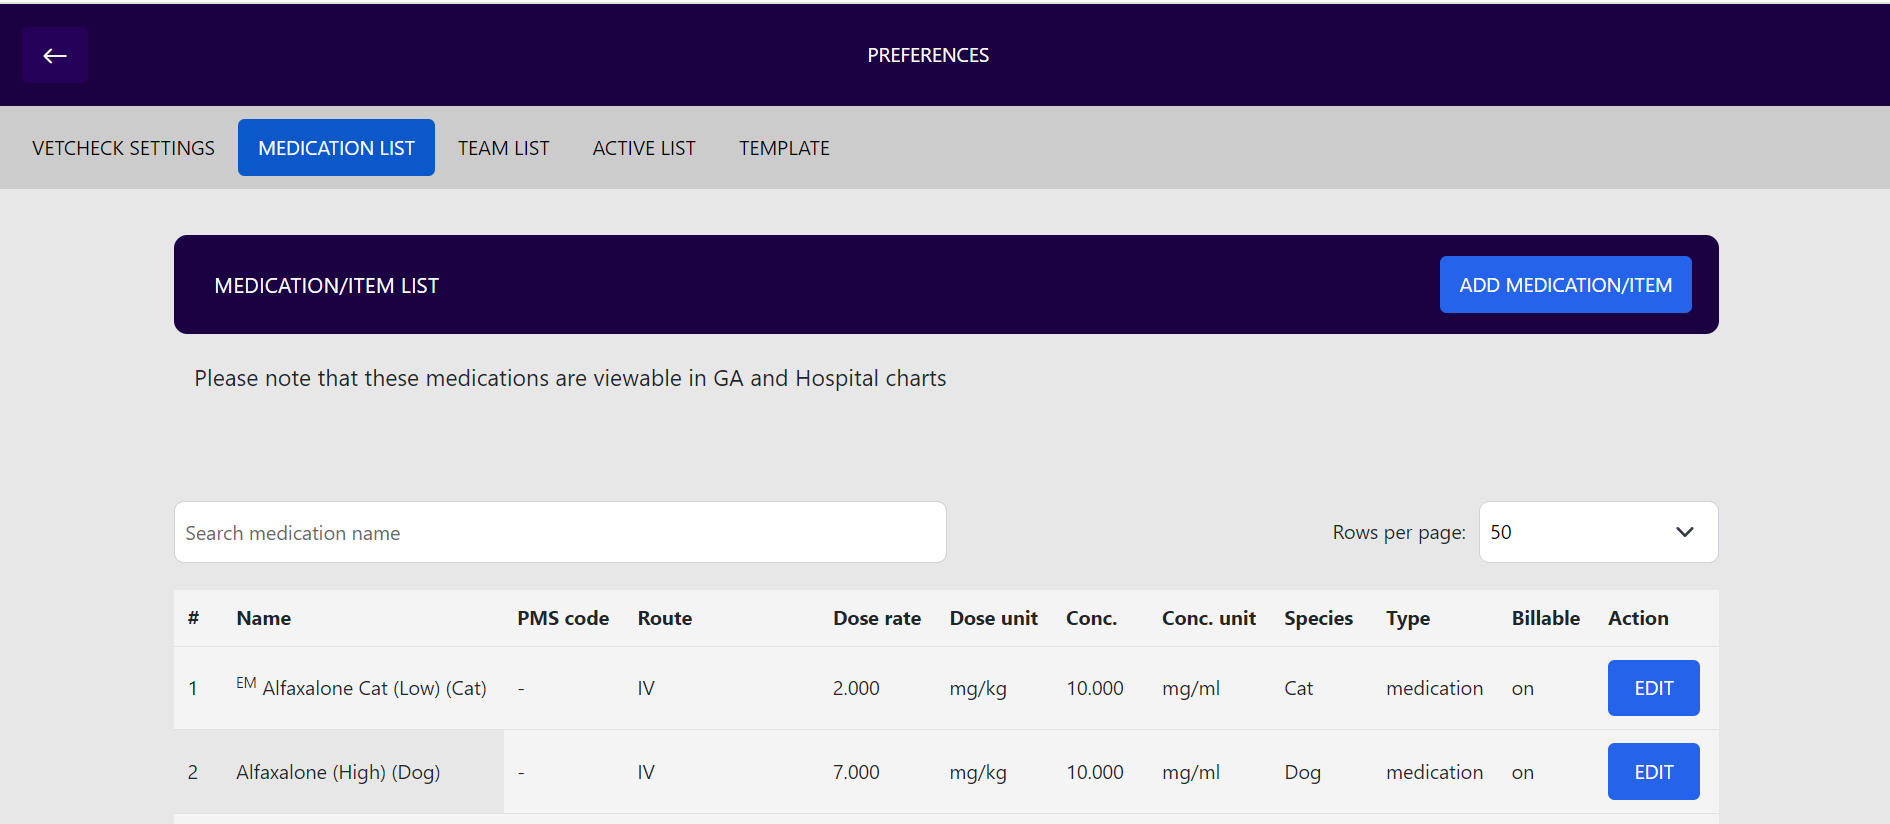
Before you can begin using the new Hospital Chart, it's essential to build your own Medications Library. To do so, please follow the instructions outlined below.
- Click ≡ on the top-left corner
- Click on Settings > Medication List
- Click on Set up your medication list for the NEW GA & hospital chart
- After creating the medication list, import it back to Vetcheck
For detailed instructions, speak to your administrator or visit: https://help.vetcheck.it/how-to-set-up-your-medication-list-new-ga-and-hospital-chart
Launching the New Hospital Chart
The Hospital chart can be launched from the practice management system (PMS). Login to PMS and follow the instructions outlined below:
- Click on VET > CHARTS on the navigation bar
- Locate and select Chart - Hospital Realtime
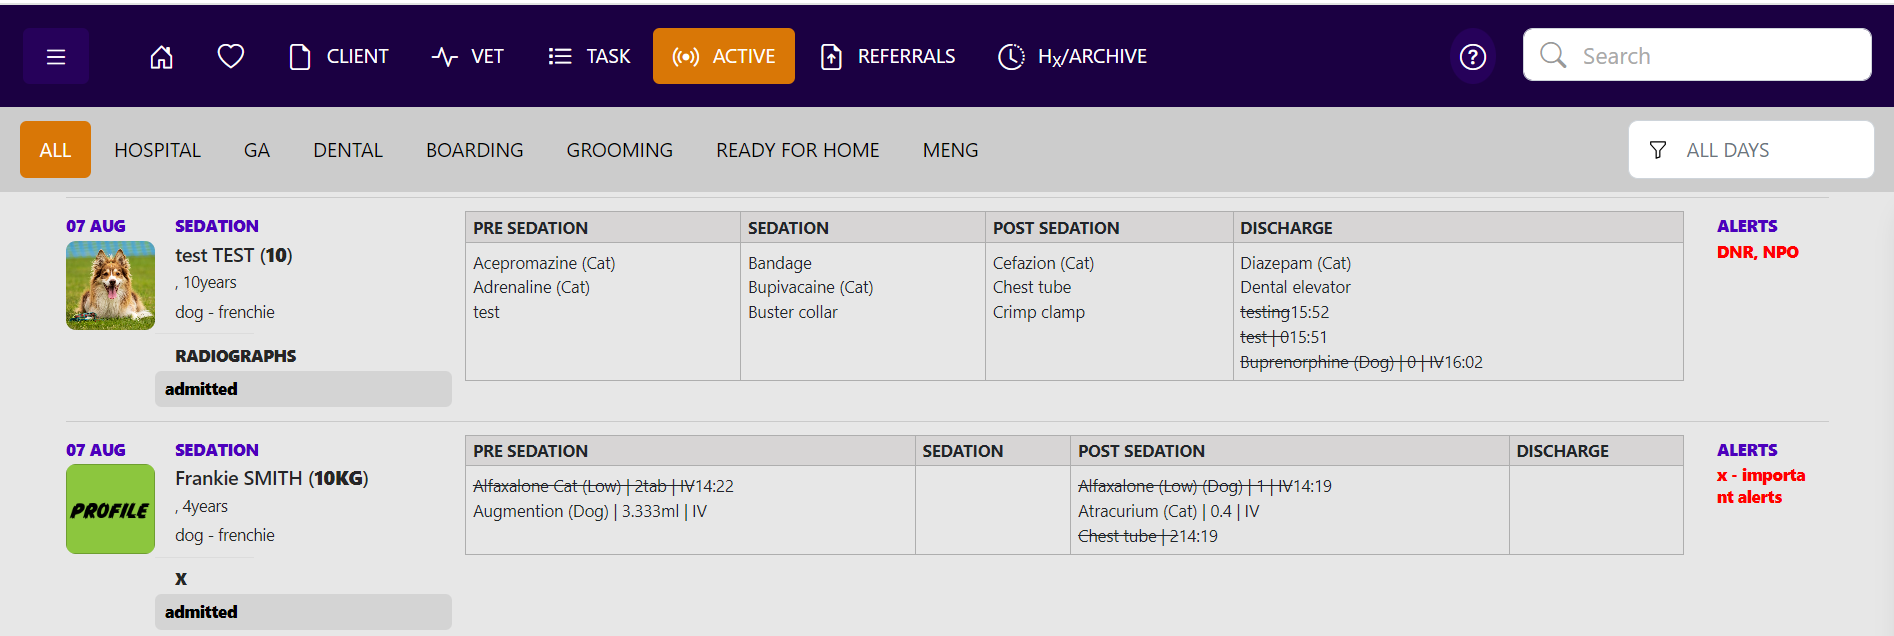
- Create the chart. Once created, the chart should be live on the ACTIVE PATIENTS list
Within the ACTIVE PATIENTS list, you will find key information about each patient, including their identity, weight, the reason for their hospitalization, and any critical alerts.
Using the Hospital Chart
To access the chart for a patient listed in the ACTIVE PATIENTS section, simply click on their name, and the patient's chart will be opened.
- The SAVE Button is located on the top-right corner
- To SUBMIT, click on Settings icon and click SUBMIT CHART
NOTE: This SUBMIT step should not be done until the chart is completed and you no longer want to make any updates.
Adding Photos
You can add up to 10 photos. Use the ✚ icon to add a photo into a slot. Click on ADD to create a new photo slot.

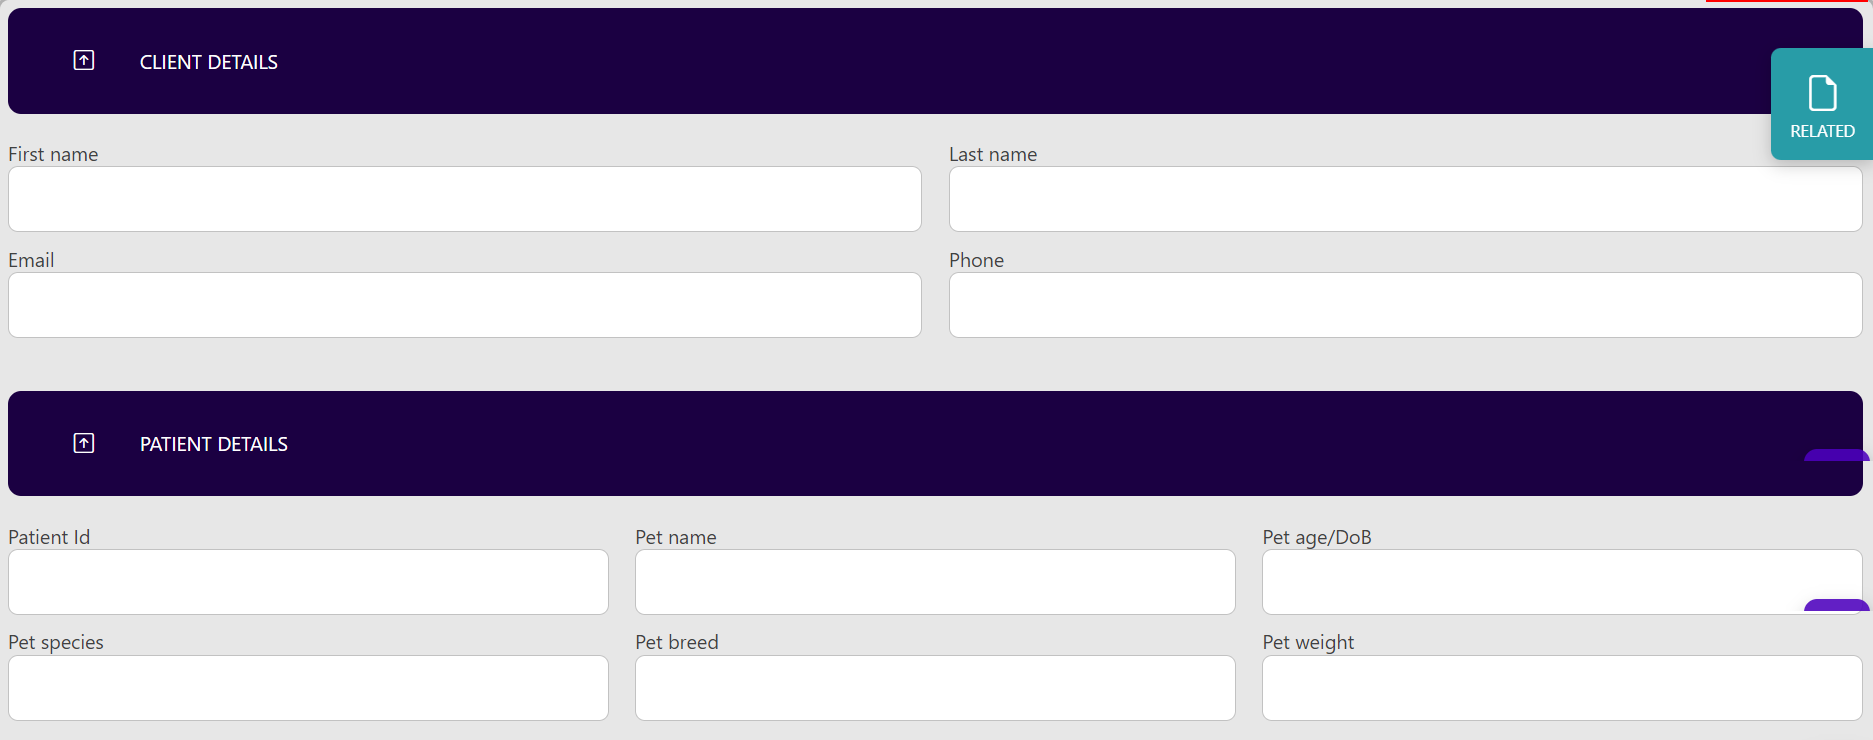
Client and Patient Details
Certain information will be pre-filled in the patient's chart from your PMS data. Please make sure to input all additional relevant information.
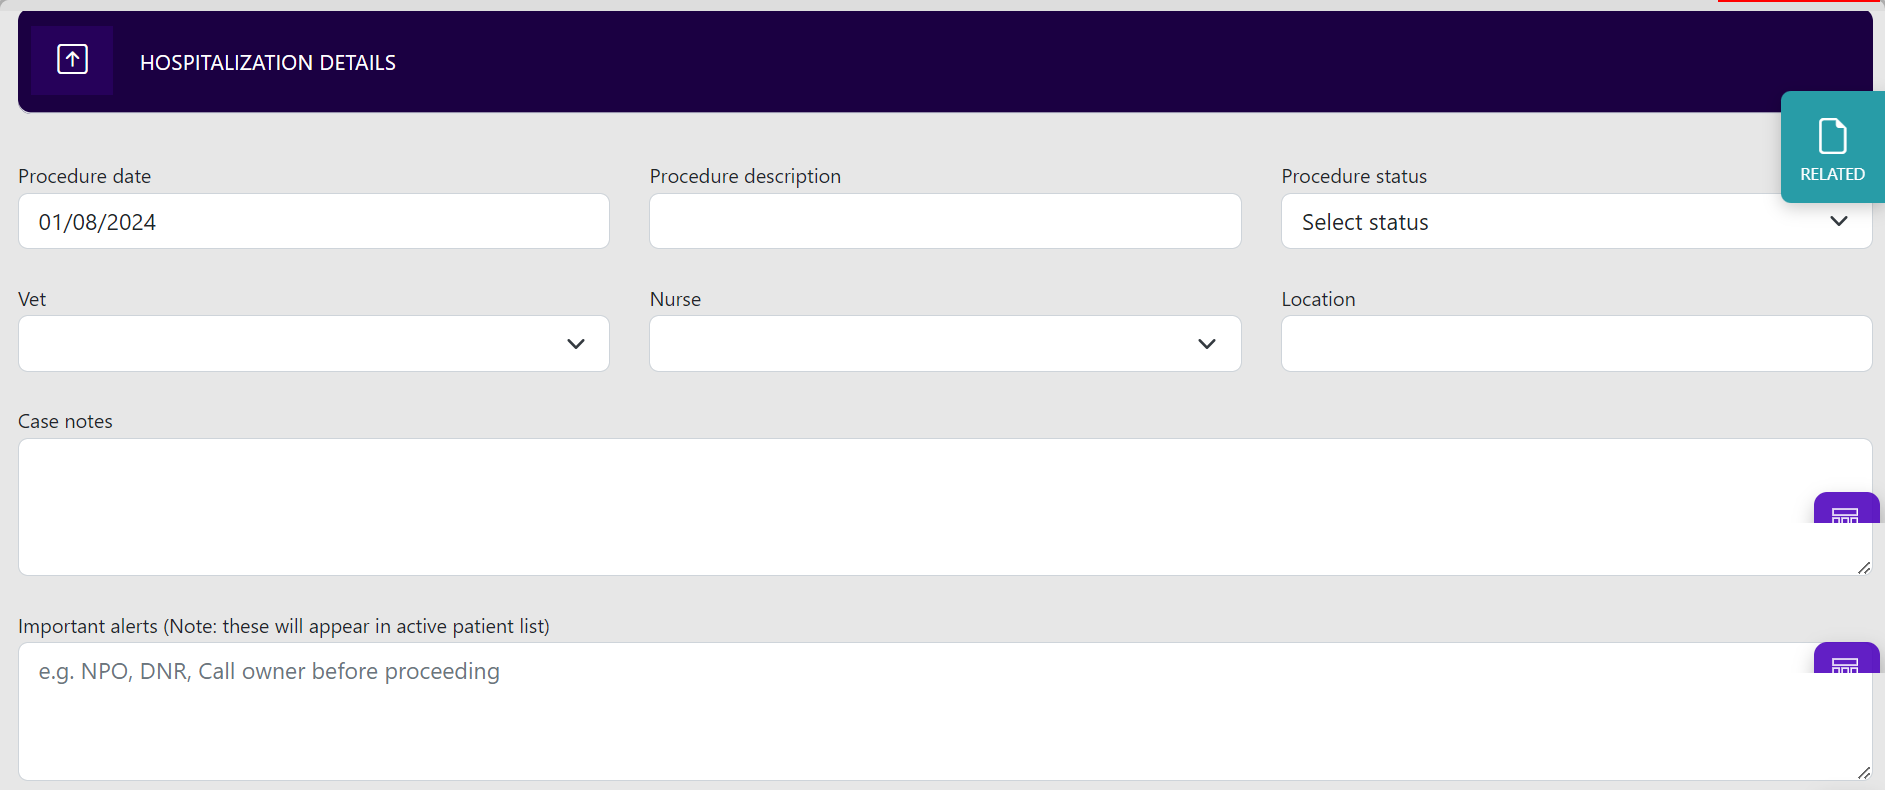
Hospitalization Details
Complete the hospitalization details. Important alerts will be visible in the ACTIVE PATIENTS list as ALERTS.
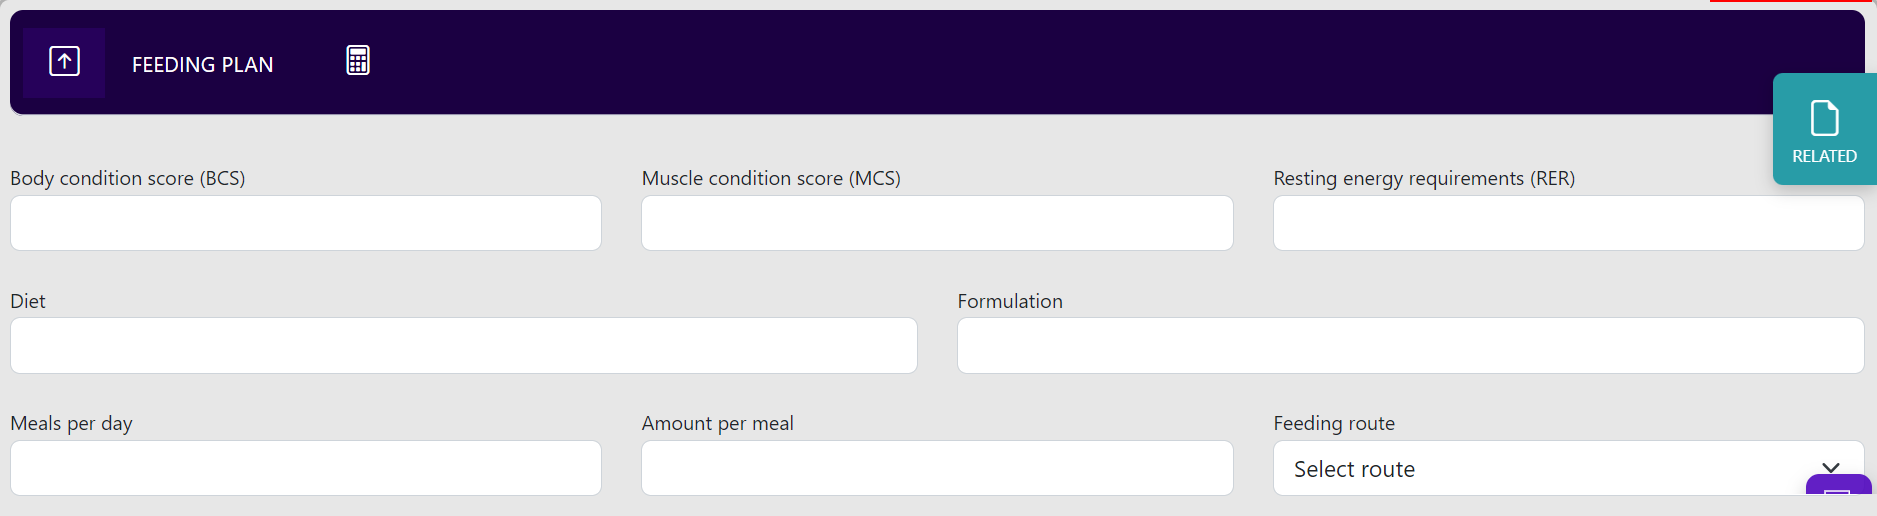
Feeding Plan
Complete the feeding plan.
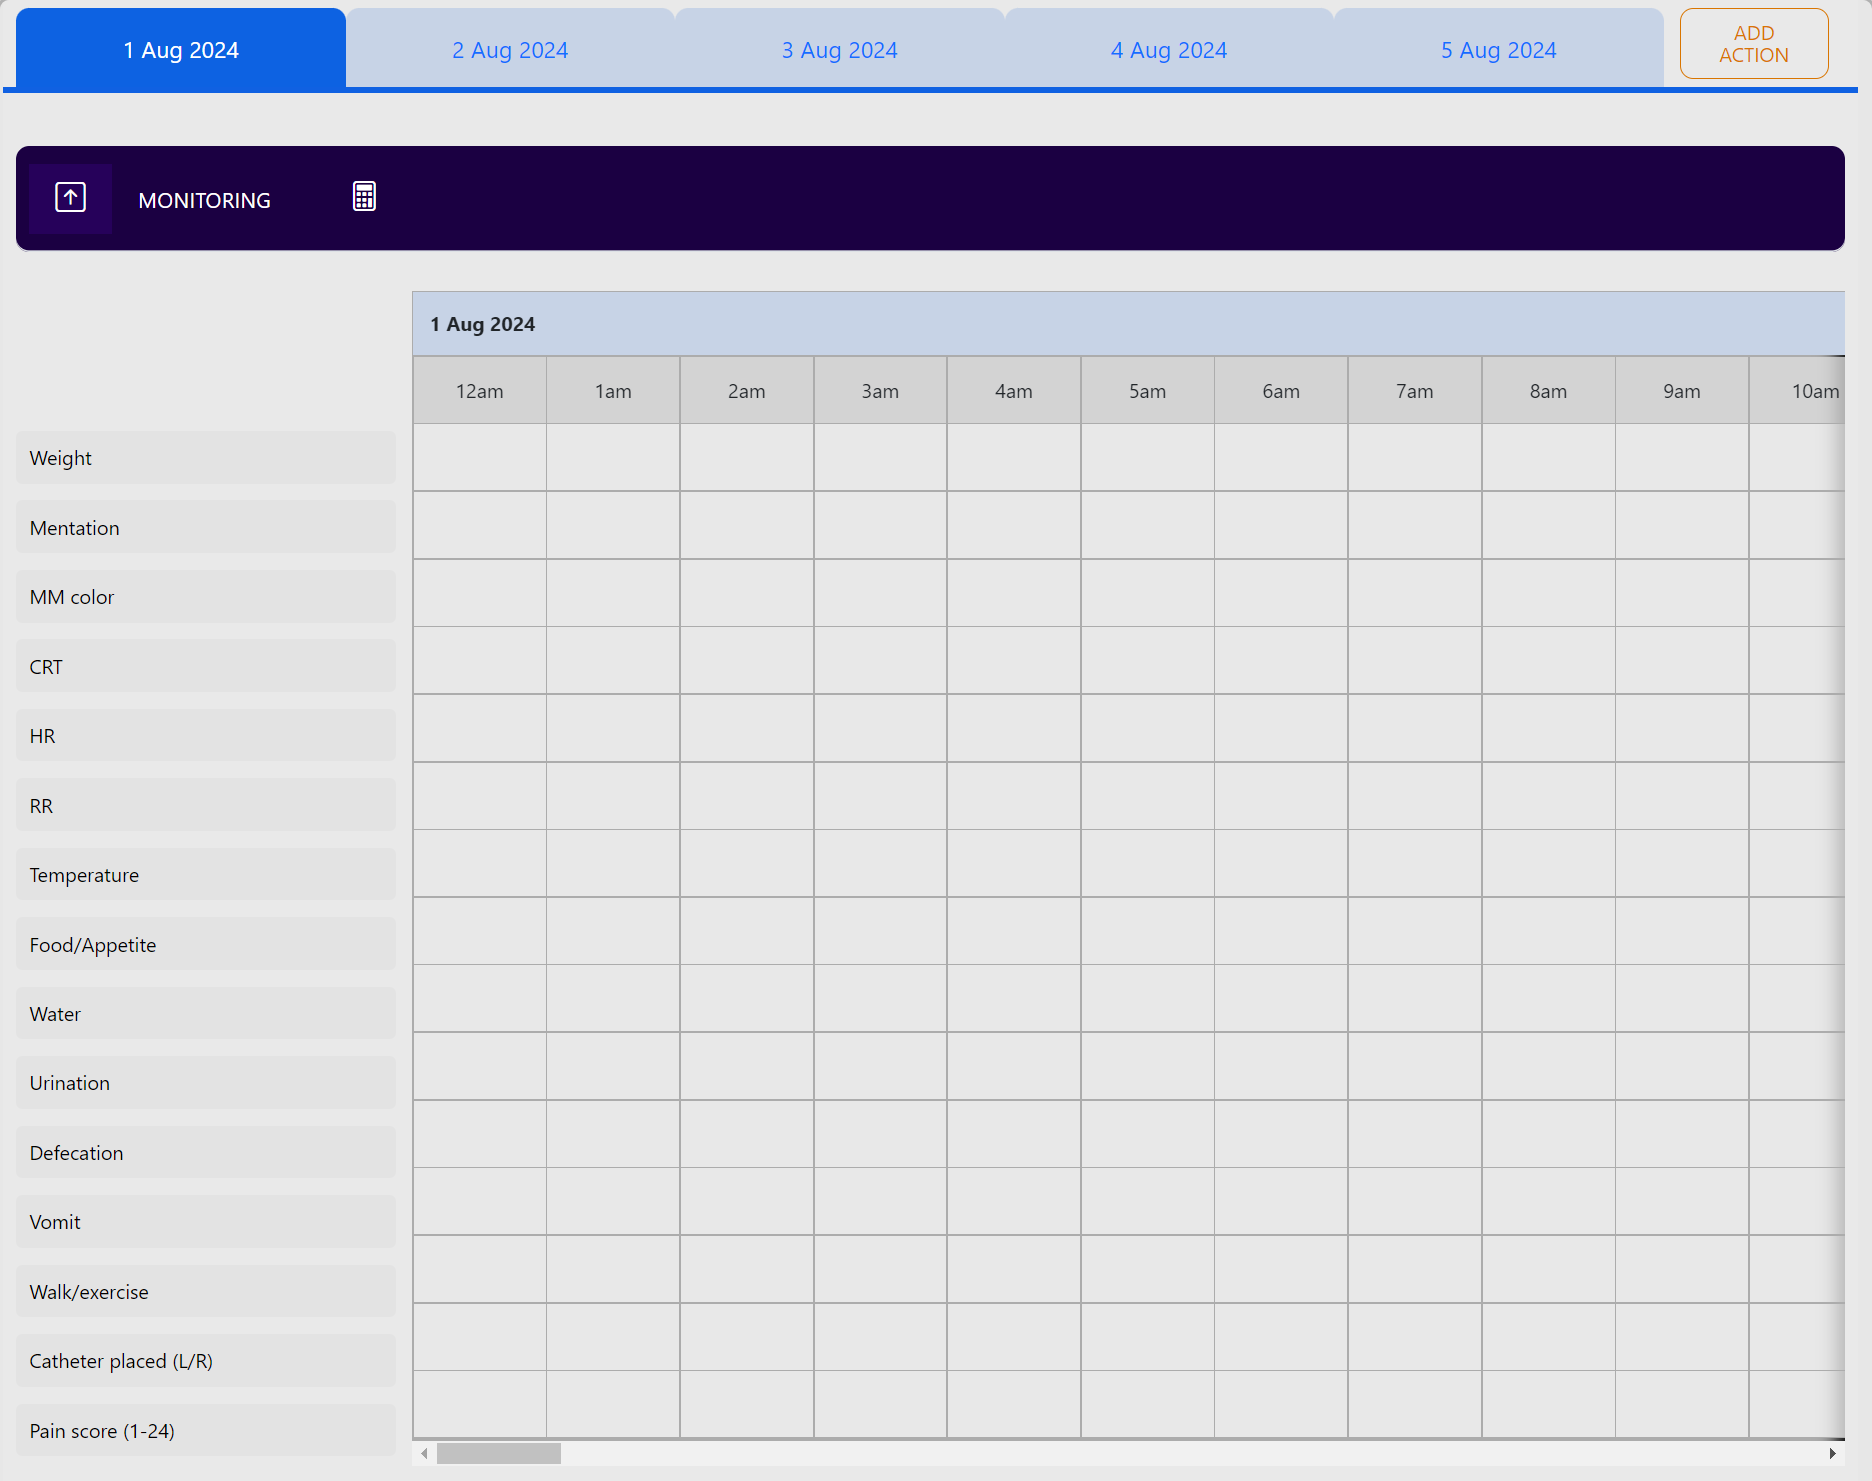
Grid Section
The "Grid" section in the hospital chart now extends over a period of five days, with each day being divided into a 24-hour period for comprehensive tracking and documentation. The current time will be highlighted as a soft shade of purple for visual cue. Medication/Item will have different colors according to label, for example, on the image below, on the left side, we have got items with different color icons.
Adding Medication/Item
To add Medication/Item, simply click on the "Add MED/ITEM" button, and a pop-up will appear. Proceed to fill in the necessary input fields and then click ADD NEW.
Scheduling Task
To schedule a Task, simply create the Task as instructed in the hospital chart.